Irankrieg: Satellitenfirma Planet Labs pausiert Bildveröffentlichungen
Satellitenaufnahmen können dem Iran Aufschluss über den Erfolg seiner Vergeltungsangriffe geben. Angeblich liefert Russland inzwischen Daten. (Satelliten, Politik)
Quelle: Golem

Satellitenaufnahmen können dem Iran Aufschluss über den Erfolg seiner Vergeltungsangriffe geben. Angeblich liefert Russland inzwischen Daten. (Satelliten, Politik)
Quelle: Golem

Hunderttausende Firmen fordern von der US-Regierung die unzulässigen Zölle zurück. Doch das Abbuchungssystem ist auf die Antragsflut nicht eingestellt. (Donald Trump, Politik)
Quelle: Golem
Amazon Redshift now supports templates for the COPY command, allowing you to store and reuse frequently used COPY parameters. This new feature enables you to create reusable templates that contain commonly utilized formatting parameters, eliminating the need to manually specify parameters for each COPY operation. Templates help maintain consistency across data ingestion operations that use the COPY command. They also reduce the time and effort required to execute COPY commands. You can create standardized configurations for different file types and data sources, ensuring consistent parameter usage across your teams and reducing the likelihood of errors caused by manual input. When parameters need to be updated, changes to the template automatically apply to all future uses, simplifying maintenance and improving operational efficiency. Support for templates for the COPY command is available in all AWS Regions, including the AWS GovCloud (US) Regions, where Amazon Redshift is available. To get started with templates, see the documentation or check out the AWS Blog.
Quelle: aws.amazon.com
Amazon Redshift now supports nine new array functions for working with semi-structured data stored in the SUPER data type. The new functions include ARRAY_CONTAINS, ARRAY_DISTINCT, ARRAY_EXCEPT, ARRAY_INTERSECTION, ARRAY_POSITION, ARRAY_POSITIONS, ARRAY_SORT, ARRAY_UNION, and ARRAYS_OVERLAP, enabling you to search, compare, sort, and transform arrays directly within your SQL queries. Previously, performing these operations required writing complex custom PartiQL SQL logic. These functions simplify complex data transformations and reduce query complexity by enabling sophisticated array operations in a single SQL statement. For example, you can use ARRAY_CONTAINS and ARRAY_POSITION for element lookup, ARRAY_INTERSECTION and ARRAY_EXCEPT for set operations, or ARRAY_SORT and ARRAY_DISTINCT to organize and deduplicate data. These functions are particularly valuable for applications involving nested data structures, event processing, and analytics workflows where data needs to be aggregated, filtered, or transformed at scale. The new Amazon Redshift array functions are available in all AWS Regions, including the AWS GovCloud (US) Regions, where Amazon Redshift is available. To learn more, please visit our documentation.
Quelle: aws.amazon.com

Die Bundesregierung sucht den Weg zu billiger Energie. Dabei verliert sie Ausbauziele aus dem Blick und verhindert niedrigere Strompreise. Ein IMHO von Mario Petzold (Energiewende, Solarenergie)
Quelle: Golem
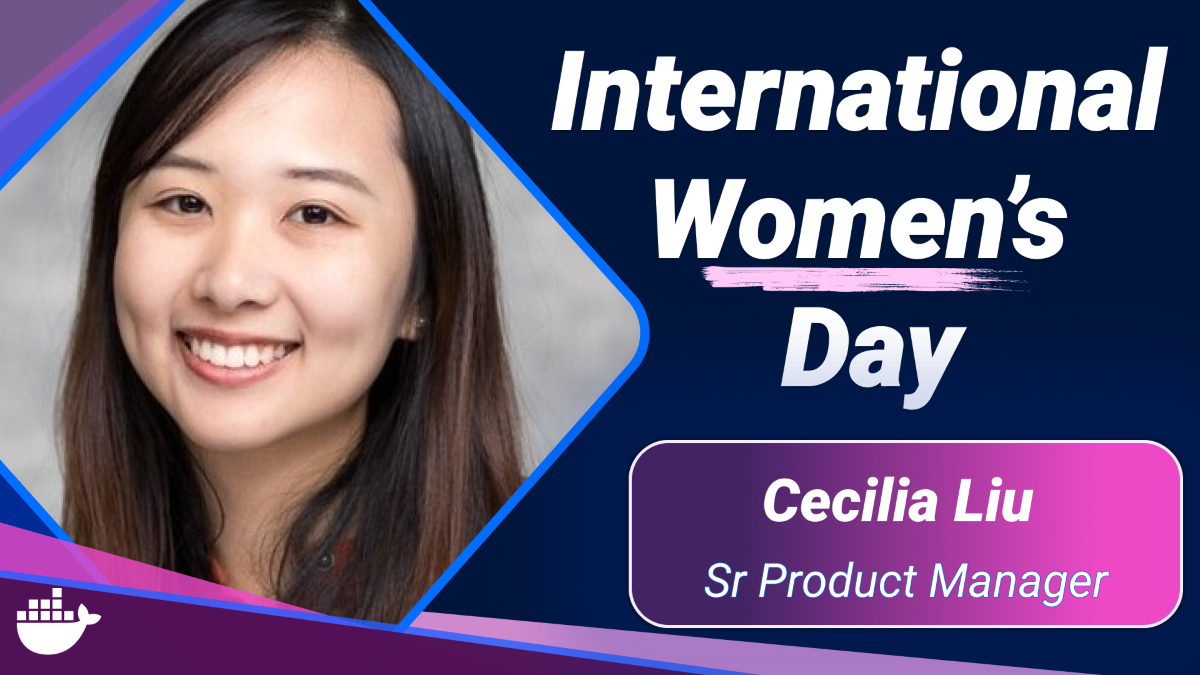
To celebrate International Women’s Day, we sat down with Cecilia Liu, Senior Product Manager at Docker, for three questions about the vision and strategy behind Docker’s MCP solutions. From shaping product direction to driving AI innovation, Cecilia plays a key role in defining how Docker enables secure, scalable AI tooling.
Cecilia leads product management for Docker’s MCP Catalog and Toolkit, our solution for running MCP servers securely and at scale through containerization. She drives Docker’s AI strategy across both enterprise and developer ecosystems, helping organizations deploy MCP infrastructure with confidence while empowering individual developers to seamlessly discover, integrate, and use MCP in their workflows. With a technical background in AI frameworks and an MBA from NYU Stern, Cecilia bridges the worlds of AI infrastructure and developer tools, turning complex challenges into practical, developer-first solutions.
What products are you responsible for?
I own Docker’s MCP solution. At its core, it’s about solving the problems that anyone working with MCP runs into: how do you find the right MCP servers, how do you actually use them without a steep learning curve, and how do you deploy and manage them reliably across a team or organization.
How does Docker’s MCP solution benefit developers and enterprise customers?
Dev productivity is where my heart is. I want to build something that meaningfully helps developers at every stage of their cycle — and that’s exactly how I think about Docker’s MCP solution.
For end-user developers and vibe coders, the goal is simple: you shouldn’t need to understand the underlying infrastructure to get value from MCP. As long as you’re working with AI, we make it easy to discover, configure, and start using MCP servers without any of the usual setup headaches. One thing I kept hearing in user feedback was that people couldn’t even tell if their setup was actually working. That pushed us to ship in-product setup instructions that walk you through not just configuration, but how to verify everything is running correctly. It sounds small, but it made a real difference.
For developers building MCP servers and integrating them into agents, I’m focused on giving them the right creation and testing tools so they can ship faster and with more confidence. That’s a big part of where we’re headed.
And for security and enterprise admins, we’re solving real deployment pain, making it faster and cheaper to roll out and manage MCP across an entire organization. Custom catalogs, role-based access controls, audit logging, policy enforcement. The goal is to give teams the visibility and control they need to adopt AI tooling confidently at scale.
Customers love us for all of the above, and there’s one more thing that ties it together: the security that comes built-in with Docker. That trust doesn’t happen overnight, and it’s something we take seriously across everything we ship.
What are you excited about when it comes to the future of MCP?
What excites me most is honestly the pace of change itself. The AI landscape is shifting constantly, and with every new tool that makes AI more powerful, there’s a whole new set of developers who need a way to actually use it productively. That’s a massive opportunity.
MCP is where that’s happening right now, and the adoption we’re seeing tells me the need is real. But what gets me out of bed is knowing the problems we’re solving: discoverability, usability, deployment. They are all going to matter just as much for whatever comes next. We’re not just building for today’s tools. We’re building the foundation that developers will reach for every time something new emerges.
Cecilia is speaking about scaling MCP for enterprises at the MCP Dev Summit in NYC on 3rd of April, 2026. If you’re attending, be sure to stop by Docker’s booth (D/P9).
Learn more
Explore Docker’s MCP Catalog and Toolkit on our website.
Dive into our documentation to get started quickly.
Ready to go hands-on? Open Docker Desktop or the CLI and start using MCP to streamline and automate your development workflows.
Quelle: https://blog.docker.com/feed/
Amazon Redshift Serverless now preserves datashare permissions when you restore a snapshot to the same namespace, simplifying data sharing workflows and reducing administrative overhead. Previously, restoring a serverless namespace from a snapshot required administrators to manually re-grant datashare permissions to consumer clusters and recreate consumer databases, even when restoring to the same namespace.
With this enhancement, datashare permissions are automatically maintained when you restore a snapshot to the same producer namespace, provided the datashare permission existed both when the snapshot was taken and on the current namespace. For consumer namespaces, datashare access remains unchanged after restore, eliminating the need for producer administrators to re-grant permissions. This streamlines disaster recovery and testing workflows by reducing manual configuration steps and potential errors. Amazon Redshift also provides EventBridge notifications to alert you when datashares are dropped, consumer access is revoked, or public accessibility changes during restore operations. This feature is available in all AWS Regions that support Amazon Redshift. To learn more, see the Amazon Redshift Management Guide.
Quelle: aws.amazon.com
Starting today, Amazon Elastic Compute Cloud (Amazon EC2) R8g instances are available in AWS Middle East (UAE), AWS Mexico (Central), and AWS Europe (Zurich) regions. These instances are powered by AWS Graviton4 processors and deliver up to 30% better performance compared to AWS Graviton3-based instances. Amazon EC2 R8g instances are ideal for memory-intensive workloads such as databases, in-memory caches, and real-time big data analytics. These instances are built on the AWS Nitro System, which offloads CPU virtualization, storage, and networking functions to dedicated hardware and software to enhance the performance and security of your workloads. AWS Graviton4-based Amazon EC2 instances deliver the best performance and energy efficiency for a broad range of workloads running on Amazon EC2. AWS Graviton4-based R8g instances offer larger instance sizes with up to 3x more vCPU (up to 48xlarge) and memory (up to 1.5TB) than Graviton3-based R7g instances. These instances are up to 30% faster for web applications, 40% faster for databases, and 45% faster for large Java applications compared to AWS Graviton3-based R7g instances. R8g instances are available in 12 different instance sizes, including two bare metal sizes. They offer up to 50 Gbps enhanced networking bandwidth and up to 40 Gbps of bandwidth to the Amazon Elastic Block Store (Amazon EBS). To learn more, see Amazon EC2 R8g Instances. To explore how to migrate your workloads to Graviton-based instances, see AWS Graviton Fast Start program and Porting Advisor for Graviton. To get started, see the AWS Management Console.
Quelle: aws.amazon.com

Amazon hat eine Tablethalterung fürs Auto im Angebot, die an der Kopfstütze angebracht wird und für Unterhaltung auf der Rückbank sorgt. (Technik/Hardware)
Quelle: Golem

Nur wenige Firmen aus dem Bereich kritische Infrastruktur haben ihre Cybersicherheits-Pflichten bislang erfüllt. Nun drohen Bußgelder. (BSI, Datenschutz)
Quelle: Golem