This post was contributed by Docker Captain Vladimir Mikhalev.
Happy New Year, Docker Fans! I hope your 2024 is off to a great start. Whether you’re a Docker expert or new to the Docker community, you may be wondering about the best ways to optimize or get started quicker on Docker. As a Docker Captain and a Senior DevOps Engineer, I’ve been using Docker for more than six years, and I’m looking forward to some thrilling updates in 2024!
In this post, I’m excited to share my top 8 tips and tricks for Docker that I’ve gathered through real-world experience and insider knowledge.
Supercharge productivity with Docker
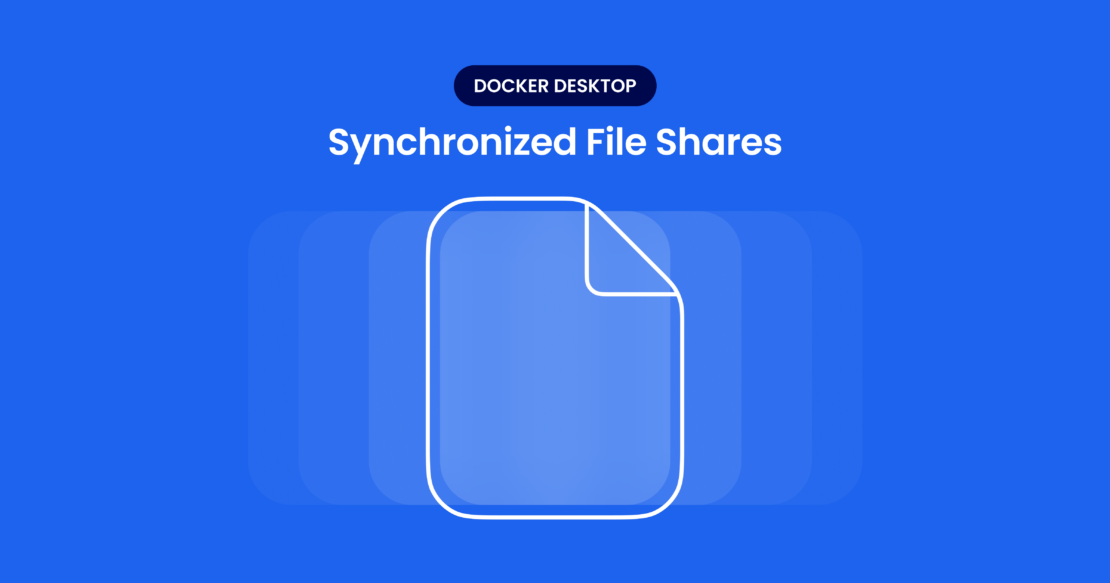
1. Enable VirtioFS for faster file sharing on Macs.
Remember the days of sluggish file sharing in Docker on Mac? We’d be wrestling with heavy file I/O operations, watching the clock as each sync dragged on. It wasn’t just a test of patience; it was a real bottleneck in our workflow.
But here’s the good news: With Docker Desktop for Mac 4.6, that’s history. Just head over to Settings > General and select VirtioFS.
Figure 1: Select VirtoFS under Settings > General.
The performance leap is something you have to experience to believe. Everything feels snappier, whether building, running, or updating containerized apps. It’s a breath of fresh air for those of us in fast-paced dev environments where every second counts.
This upgrade has been a massive win for productivity, and it’s just one of the many reasons I’m excited about Docker’s direction in 2024. These kinds of improvements make Docker not just a tool but a powerful ally in our development arsenal.
2. Strategically layer to optimize the Docker Build cache.
Let’s talk about Dockerfile efficiency – something I’ve wrestled with more times than I can count. Back in the day, Docker builds could feel like a slow dance. You make a small change in your code, and wait for what feels like an eternity for the build to complete. It was a frequent frustration, especially when you’re iterating rapidly and need to test a small change. The problem? Our Dockerfiles weren’t optimized for efficient caching, leading to unnecessary rebuilds and time wasted.
Here’s a trick I learned: Strategic layering in your Dockerfile can turn the tide. Place those instructions that don’t change often, like installing dependencies, right at the top. Then, put your COPY or ADD commands for your application code lower down.
This structure is a game-changer. It means Docker can reuse cached layers for the top parts of your Dockerfile, and you’re only rebuilding what’s actually changed. The result? Your build times get slashed, and you spend more time coding and less time waiting.
Another lifesaver is using RUN –mount type=cache when installing packages. This little gem keeps your package cache intact between builds. No more re-downloading the entire internet every time you build your image. It’s especially handy when you’re working with large dependencies. Implement this, and watch your build efficiency go through the roof.
To give you a better idea, here’s how you might apply these principles in a Dockerfile for a Node.js application:
# Use an official Node base image
FROM node:14
# Install dependencies first to leverage Docker cache
COPY package.json package-lock.json ./
# Using cache mount for npm install, so unchanged packages aren’t downloaded every time
RUN –mount=type=cache,target=/root/.npm
npm install
# Copy the rest of your app's source code
COPY . .
# Your app's start command
CMD ["npm", "start"]
This example Dockerfile demonstrates the strategic layering and RUN cache usage in action, showcasing how these practices can significantly optimize your Docker builds.
Adopting these practices transformed my Docker experience. No more watching the spinner while Docker rebuilds the world. Instead, it’s quick iterations, fast feedback, and more productivity. And honestly, that’s the kind of efficiency we live for in our line of work.
3. Avoid the bloat to keep builds efficient.
In the earlier days of Docker, the sheer size of our builds often tripped me up. It was like packing your entire house for a weekend trip. I’d end up sending tons of unnecessary files to the Docker daemon, resulting in bloated build contexts and painfully slow build times. Not exactly ideal when you’re trying to keep things lean and agile.
The key? Getting smarter with what to include in the build context. In your .dockerignore, specify only the essentials – leave out anything that doesn’t contribute to your final image. This approach is like packing a well-organized suitcase and bringing only what you need. The benefit is twofold: You speed up the build process and reduce resource consumption by sending less data to the Docker daemon. It’s a straightforward yet powerful tweak that has saved us countless hours.
Another game-changer has been adopting multi-stage builds in our Dockerfiles. Imagine building a complex app and having to include all the build tools and dependencies in your final image. It’s like taking the construction crew with you after building your house. Instead, with multi-stage builds, you compile and build everything in an initial stage, and then, in a separate stage, you copy over just the necessary artifacts. This results in a much leaner, more efficient final image. It’s not only good practice for keeping image sizes down, but it also means quicker deployments and reduced storage costs.
Implementing these methods transformed how we handle Docker builds. Your builds are faster, your deployments are smoother, and your entire workflow just feels more streamlined.
4. Kickstart your projects with Docker Init.
Remember the old days when starting a new Docker project felt like navigating a maze? We’d often find ourselves fumbling through the initial setup – creating a Dockerfile, figuring out what to include in .dockerignore, setting up compose.yaml, and so on.
For Docker newbies, this was daunting. Even for seasoned pros, it was a repetitive chore that ate into valuable time. Each new project was like reinventing the wheel; frankly, we had more important things to focus on, like actual coding.
Enter Docker Init. This feature has been a lifesaver for streamlining project setups. It’s like having a personal assistant to handle the groundwork of a new Docker project.
Just run docker init, and voilà, it sets up the essential scaffolding for your project. You get a .dockerignore to keep unwanted files out, a Dockerfile tailored to your project’s needs, a compose.yaml for managing multi-container setups and even a README.Docker.md for documentation.
The best part? It’s customizable. For instance, if you’re working on a Node.js app, Docker Init won’t just give you a generic Dockerfile; it’ll tailor it to fit the Node environment and dependencies. This means less tweaking and more doing. It’s not just about saving time; it’s about starting off on the right foot — no more guesswork or boilerplate code. You’re set up for success right from the get-go.
Docker Init has changed the game for us. What used to be a tedious start to every project is now a smooth, streamlined process. It’s like having a launchpad for your Docker projects, ready to take you straight into the heart of development without the initial hassle.
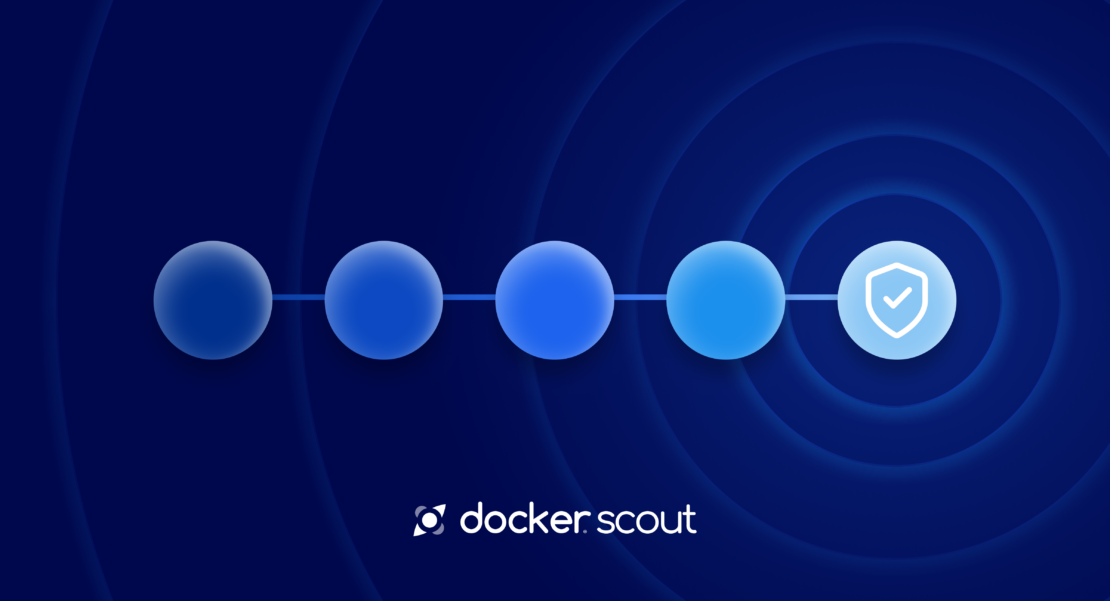
5. Proactively find and fix software vulnerabilities with Docker Scout.
In our constant quest for robust and secure applications, we’ve often encountered a common snag in the DevOps world – keeping a vigilant eye on vulnerabilities across multiple repositories. It’s like trying to keep track of a dozen moving targets simultaneously. Pre-Docker Scout days, this was a cumbersome task, often leading to oversights and last-minute scrambles to address security gaps.
But here’s where Docker Scout shines, and it’s not just about its powerful ability to detect vulnerabilities. Docker Scout provides a comprehensive, eagle-eyed watch over our entire repository landscape. Since we’ve made Docker Scout an integral part of our workflow, we have increased confidence across our teams and stages that we’re delivering a secure final product.
We started by setting up Docker Scout across all our repositories. (Check out the Docker quickstart guide.) It’s like deploying a network of sentinels, each tasked with keeping a watchful eye on a specific territory. The setup process was straightforward, and once in place, Scout began providing ongoing visibility into the security status of our repositories.
What I particularly appreciate about Docker Scout is its ongoing visibility feature. It’s like having a dashboard that constantly updates with the latest security intel. We’re not just talking about identifying vulnerabilities; we’re talking about a tool that gives us real-time insights, keeping us informed and ready to act.
And when Docker Scout flags an issue, it doesn’t just leave us hanging with a problem. It guides us through the remediation process. This aspect has been a game-changer. It’s like having an expert by your side, suggesting the best course of action, whether it’s updating a package or reconfiguring a setting. Having that level of guidance is empowering and transforms how we approach security from reactive to proactive.
Integrating Docker Scout in this expansive manner has revolutionized our approach to securing our software supply chain. It’s no longer a check-box activity; it’s an integral part of our DevOps culture. The peace of mind that comes from knowing you have a comprehensive security net over your entire application landscape? Priceless.
Incorporating Docker Scout this way has enhanced our security posture and fundamentally shifted our approach, making a secure software supply chain a seamlessly integrated aspect of our development lifecycle.
Try Docker Scout for yourself.
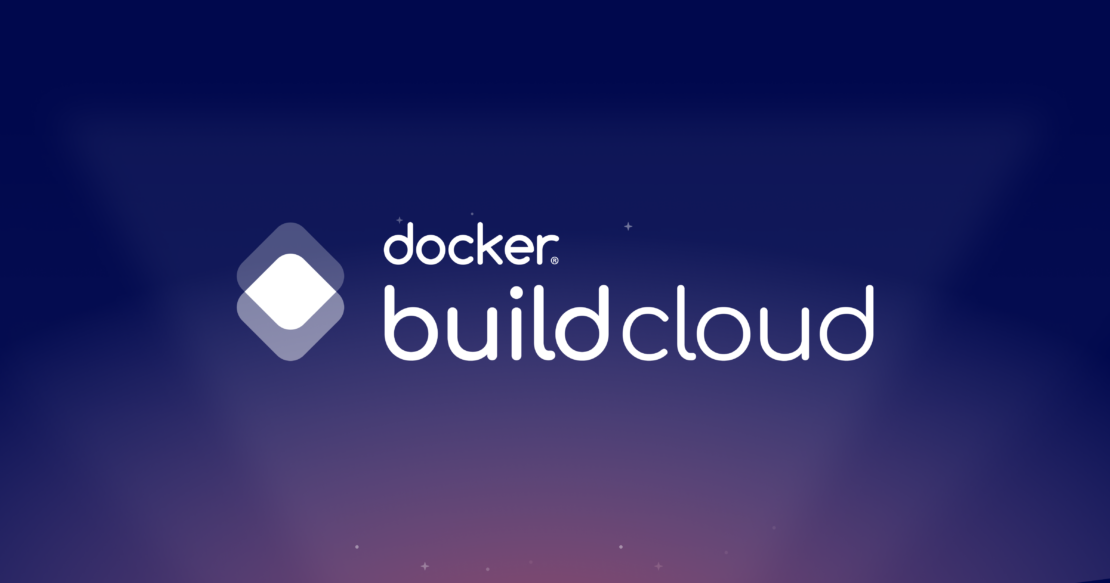
6. Accelerate your development with Docker Build Cloud.
Imagine you’re working on a Docker project, and each build feels like a long road trip in heavy traffic. Traditional local Docker builds, particularly for substantial projects, can be frustratingly slow and resource-intensive. You’re there, watching the progress bar crawl while your machine groans under the load. It’s like trying to run a race with weights tied to your feet. And let’s not forget the uneven playing field – developers with high-end machines breeze through builds while others with modest setups endure a sluggish pace. This disparity often leads to the infamous “works on my machine” syndrome, creating a rift in the development process.
Enter Docker Build Cloud, a game-changer that’s like swapping out your heavy backpack for a jetpack. By offloading the build process to the cloud, Docker Build Cloud provides a consistent, high-speed build environment for all developers, regardless of their local hardware. It’s the equivalent of giving every developer in your team a top-of-the-line workstation for building their Docker images.
Optimizing your Dockerfiles for cloud-based builds is key to harnessing the full potential of Docker Build Cloud. Structuring Dockerfile commands for maximum layer caching efficiency and minimizing the build context size are crucial steps. It’s about arranging your Dockerfile instructions to leverage shared caches and parallel build capabilities, akin to streamlining your development process for maximum efficiency. I recall a time when reorganizing our Dockerfile structure reduced the build time of a significant project by half, transforming a cumbersome process into a swift and efficient one.
Monitoring build times and cache usage is equally crucial. By keeping a close eye on these aspects, you can pinpoint any inefficiencies or bottlenecks, allowing for timely tweaks and adjustments. During one of our high-traffic periods, we noticed a spike in build times. By analyzing cache usage and build patterns, we identified a misconfigured step in our Dockerfile, which, once resolved, brought our build times back to optimal levels.
Embracing Docker Build Cloud marks a significant shift in your development workflow. It’s not just about speeding up builds; it’s about creating a harmonious and efficient development environment. Implementing multi-stage builds and regularly updating base images have further streamlined our processes, ensuring that our builds are not only fast but also secure and up-to-date.
Your team can now enjoy quick iterations and efficient resource utilization, elevating productivity to new heights. Docker Build Cloud transforms the building process from a chore into an experience marked by speed and efficiency, ensuring that your projects are not just built but crafted swiftly and seamlessly in a state-of-the-art cloud environment. This shift to Docker Build Cloud is more than an upgrade; it’s a new way of thinking about Docker builds, aligning perfectly with the agility and dynamism needed in modern software development.
7. Resolve code issues faster with Docker Debug.
Troubleshooting sometimes feels like trying to solve a puzzle with missing pieces. You’ve likely been there – a bug shows up, and you’re diving deep into logs and configurations, trying to replicate the issue. It’s a bit like detective work, where every clue matters, but you’re not quite sure where the next clue is. This process can be time-consuming and, frankly, a bit of a headache, especially when the issues are elusive or environment-specific.
But here’s where Docker Debug steps in and changes the game. It’s like being handed a magnifying glass and a detailed map when you’re in the midst of a complicated treasure hunt. Docker Debug is an upgrade to Docker Build that brings a suite of troubleshooting tools to your fingertips. It’s designed to make the debugging process less of a trial-and-error journey and more of a straight path to solutions.
Integrating Docker Debug into your regular debugging process is like adding a new set of high-tech tools to your toolkit. You get features for both local and remote debugging, which are invaluable when you’re dealing with issues that are hard to pin down. For instance, the ability to view logs in real-time or execute commands within containers is like having a direct line to what’s happening inside your Docker environment. This direct access means you can see exactly what’s going wrong and where rather than making educated guesses.
Using Docker Debug helps you replicate and diagnose issues in environments that mimic both local and production settings. This versatility is crucial because a bug that pops up in a production environment might not always show in a local one and vice versa. It’s akin to having the ability to test your car on both race tracks and city roads – you get a complete picture of performance across different conditions.
Implementing structured logging in your applications, for instance, turns your logs into a coherent story, making it easier for Docker Debug to guide you to the heart of the problem. Regularly performing health checks on your containers using Docker Debug’s tools is akin to having a routine check-up, ensuring everything runs smoothly.
When you face a network issue or a memory leak, Docker Debug becomes your go-to tool. It allows you to replicate the exact environment and dive deep into the container, inspecting processes, network connections, or even running a debugger on the application process. It’s like having a surgical tool to dissect and understand your application’s behavior under various conditions.
The natural beauty of Docker Debug lies in its ability to lead to quicker resolutions of complex issues. You’re not just looking at surface-level symptoms; you’re able to dive deep and understand the root causes. It’s essentially giving you an X-ray vision for your Docker projects. No more prolonged downtime or lengthy bug hunts; with Docker Debug, you’re equipped to identify, understand, and resolve issues with precision and speed.
In essence, incorporating Docker Debug into your workflow is more than just an upgrade; it’s a transformative step towards more efficient, effective, and less stressful troubleshooting. It’s about turning what used to be a daunting task into a more manageable, even straightforward, part of your development process. With Docker Debug, you’re not only fixing issues faster, but you’re also gaining insights that can prevent these issues from happening in the first place. It’s a strategic move that elevates your Docker game, ensuring your projects are functional, robust, and resilient.
8. Test against real instances with Testcontainers.
Testing in the world of Docker can often feel like navigating through a dense forest with just a compass. You’re trying your best to simulate real-world conditions, but there’s always that feeling that something’s missing. It’s like preparing for a marathon on a treadmill – useful, but not quite the same as hitting the pavement.
Enter Testcontainers, a lifesaver that’s turned our testing approach on its head, especially with Docker’s acquisition of AtomicJar. Imagine having the ability to spin up real databases, message brokers, or any other service your app interacts with, all within your test suite. It’s like suddenly having access to a full-scale rehearsal studio instead of practicing in your garage.
Testcontainers allow us to bring production-like environments right into our automated tests. We’re talking about spinning up a PostgreSQL container for database tests or RabbitMQ for messaging. This shift has been monumental – we’re now testing under conditions that closely mirror what we’ll encounter in production.
We’ve seamlessly integrated Testcontainers into our CI/CD pipeline. This means every build is tested against real instances, ensuring that the tests passing on a developer’s machine will pass in production, too. It’s akin to having an all-weather test track available any time we need it.
Let me paint a picture with a real scenario we faced. We had this intermittent issue where everything worked fine in development but fell apart in production. Sounds familiar? We set up Testcontainers with the same version of the database as in production, and suddenly, the problem was reproducible. And diagnosable. And fixable. It was the kind of turning point that transforms night-long debugging sessions into quick fixes.
Embracing Testcontainers is more than just adopting a new tool; it’s a paradigm shift in how we do testing. It ensures that our tests are not just passing but passing in a way that gives us confidence about how they’ll behave in the real world.
So, my fellow Docker aficionados, if you haven’t already, dive into the world of Testcontainers. It’s not just about making your tests more reliable; it’s about making your entire development lifecycle more predictable, efficient, and aligned with the realities of production environments. It’s one of those tools that, once you start using, you’ll wonder how you ever managed without it.
Get started with Testcontainers and see what you think.
Conclusion
These are the top tips and tricks that have revolutionized the way my team and I use Docker. Whether you’re just starting out or you’ve been in the Docker game for a while, I hope these insights help you as much as they’ve helped us.
If you’re the kind of developer who wants to be the first to hear about new features and help improve the Docker experience, sign up to be part of the Developer Preview Program. You can also join the community Slack, where you can chat with other Docker developers and share your own tips and tricks!
We wish you a happy 2024! Keep experimenting, and happy Dockerizing!
Learn more
Check out the Docker quickstart guide.
Read Docker Init: Initialize Dockerfiles and Compose files with a single CLI command.
Try Docker Scout.
Learn more about Docker Build Cloud.
Get started with Testcontainers.
Sign up for the Developer Preview Program.
Join the Docker community on Slack.
Quelle: https://blog.docker.com/feed/